 How To Fit A Basin Tap In Just 4 Simple Steps
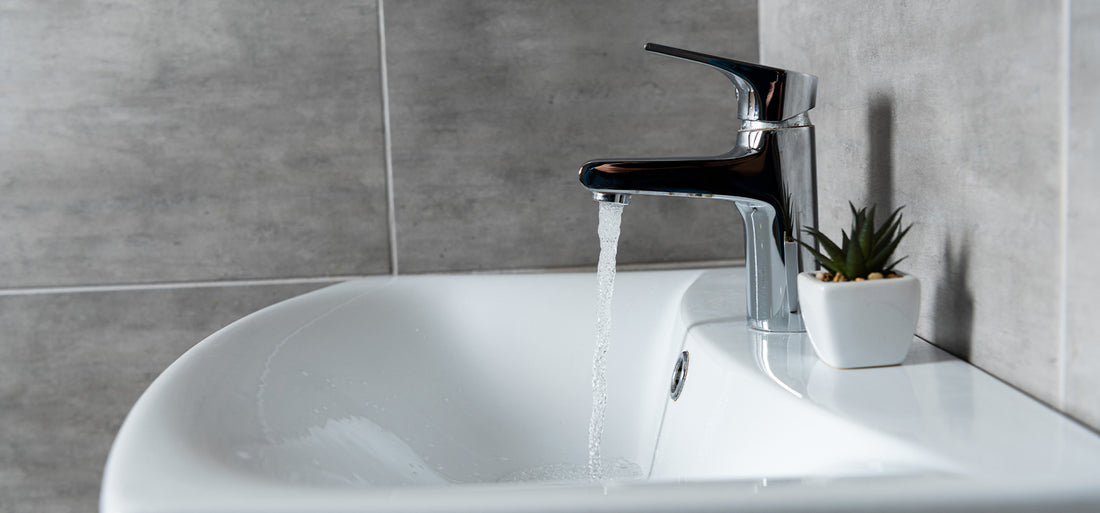
Fitting a basin tap can refresh your bathroom's look and functionality. Here’s a straightforward guide to help you install a new basin tap efficiently.
Tools and Materials Needed
- Adjustable wrench
- Basin wrench
- Screwdriver
- Plumber’s tape (Teflon tape)
- New basin tap
- Bucket
- Cleaning cloth
Step 1: Turn Off Water Supply and Prepare the Area
Turn Off the Water:
Locate the shut-off valves under the sink and turn them off to stop the water supply. If there are no individual shut-off valves, turn off the main water supply. This ensures no water flow during the installation process, preventing any spills.
Drain the Taps:
Turn on the existing tap to release any remaining water in the pipes, and place a bucket underneath to catch any drips. This step ensures that the pipes are empty and you won't have to deal with unexpected water leaks while working.
Remove the Old Tap:
Use an adjustable wrench to loosen the nuts securing the old tap to the basin. Carefully lift out the old tap and clean the area around the holes. Removing the old tap can sometimes be tricky, especially if it's been there for a long time, so patience and gentle handling are key.
Step 2: Prepare the New Tap
Apply Plumber’s Tape:
Wrap plumber’s tape around the threads of the new tap to ensure a tight, leak-free seal. This will prevent water from seeping out when the tap is in use. Plumber’s tape is crucial for preventing leaks and ensuring a snug fit.
Assemble the Tap:
If the new tap comes with components that need assembly, follow the manufacturer’s instructions to put them together before installation. This might include attaching hoses or securing decorative pieces.
Step 3: Install the New Tap
Position the Tap:
Insert the new tap through the mounting holes in the basin. Ensure it is aligned correctly. Proper alignment is essential for both functionality and aesthetics, making sure that the tap looks straight and operates smoothly.
Secure the Tap:
From underneath the basin, screw on the washers and nuts that came with the new tap. Use the basin wrench to tighten the nuts, but avoid over-tightening to prevent damaging the basin or the tap. Tightening the nuts securely will keep the tap stable and prevent wobbling.
Connect Water Supply Lines:
Attach the flexible hoses to the corresponding hot and cold water inlets on the tap. Tighten the connections with an adjustable wrench, ensuring a secure fit. Properly connected water lines are crucial for the tap to function without leaks.
Step 4: Test and Finish
Turn On the Water Supply:
Turn the shut-off valves back on or restore the main water supply. Check for any leaks around the connections. Monitoring for leaks right after turning the water back on helps identify and fix issues immediately.
Test the Tap:
Turn on the tap to ensure it is working correctly and there are no leaks. Make sure both hot and cold water are flowing as expected. Testing ensures that the installation was successful and the tap is functioning properly.
Clean Up:
Wipe down the area around the new tap to remove any debris or residue from the installation process. Cleaning up ensures that your bathroom looks neat and the new tap shines.
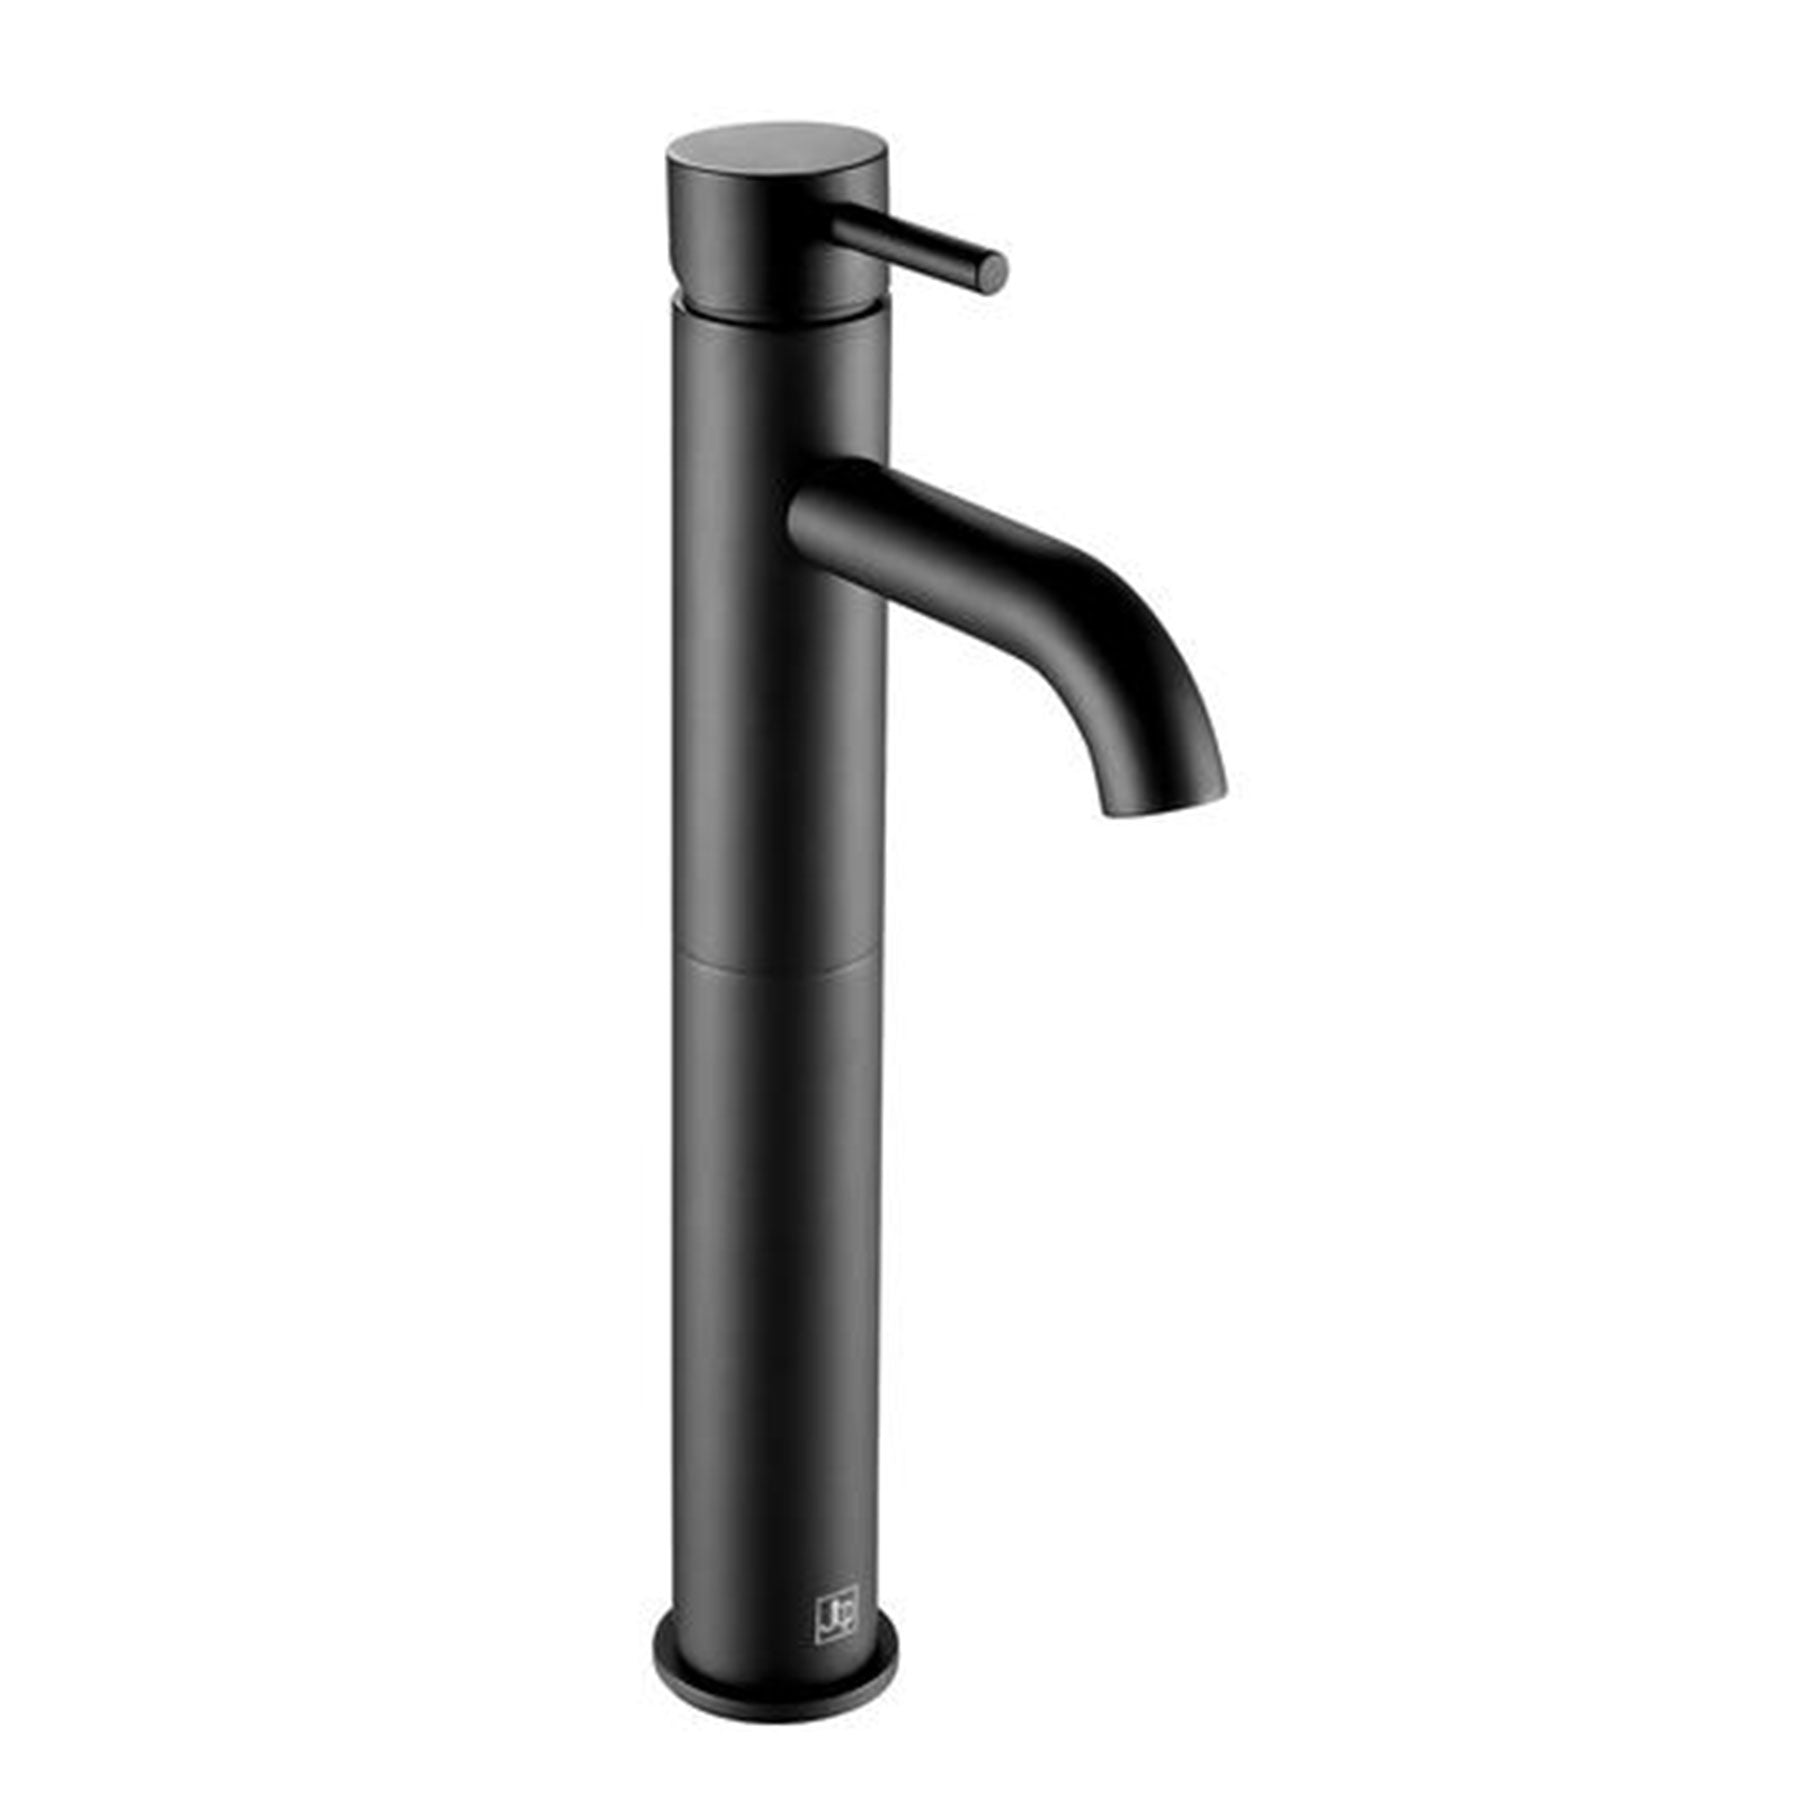
Highlighted Basin Taps from Tapron
Explore a wide selection of high-quality basin taps at Tapron to find the perfect addition to your bathroom:
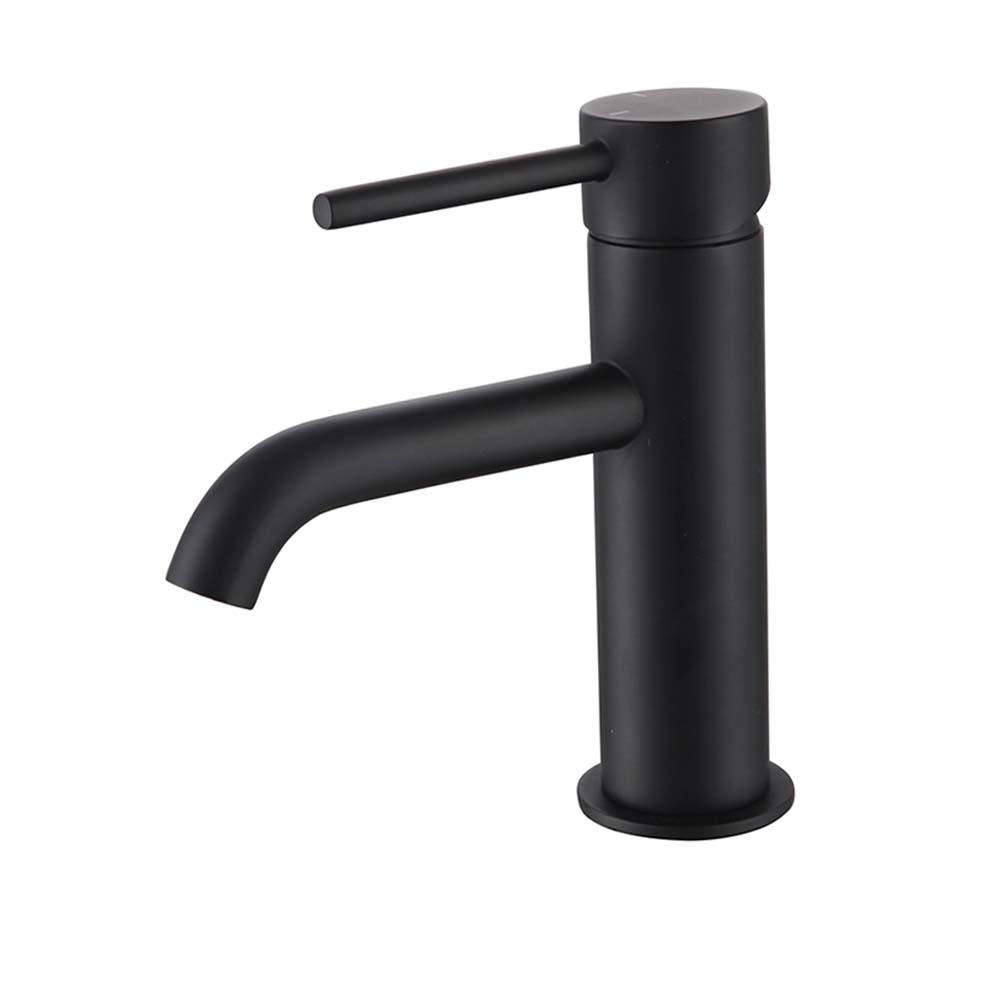
1. Modern Basin Taps
These taps offer sleek designs and advanced functionality, perfect for contemporary bathrooms. Features like single-lever control and streamlined shapes make them a stylish choice. Modern taps often include water-saving technologies and easy-to-use handles.
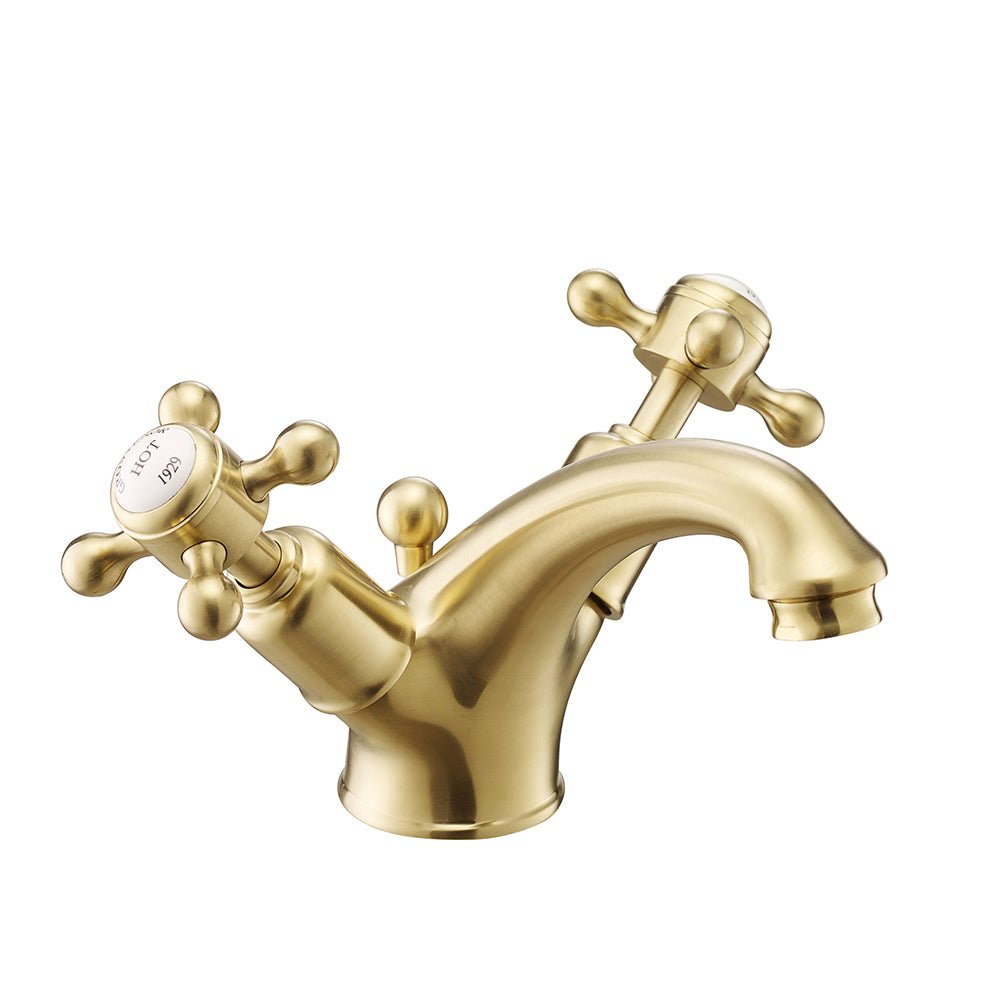
2. Traditional Basin Taps
Classic designs that bring a timeless charm to your bathroom, featuring separate handles for hot and cold water. These taps are perfect for adding a vintage touch to your space. Traditional taps often come with elegant curves and detailed craftsmanship.
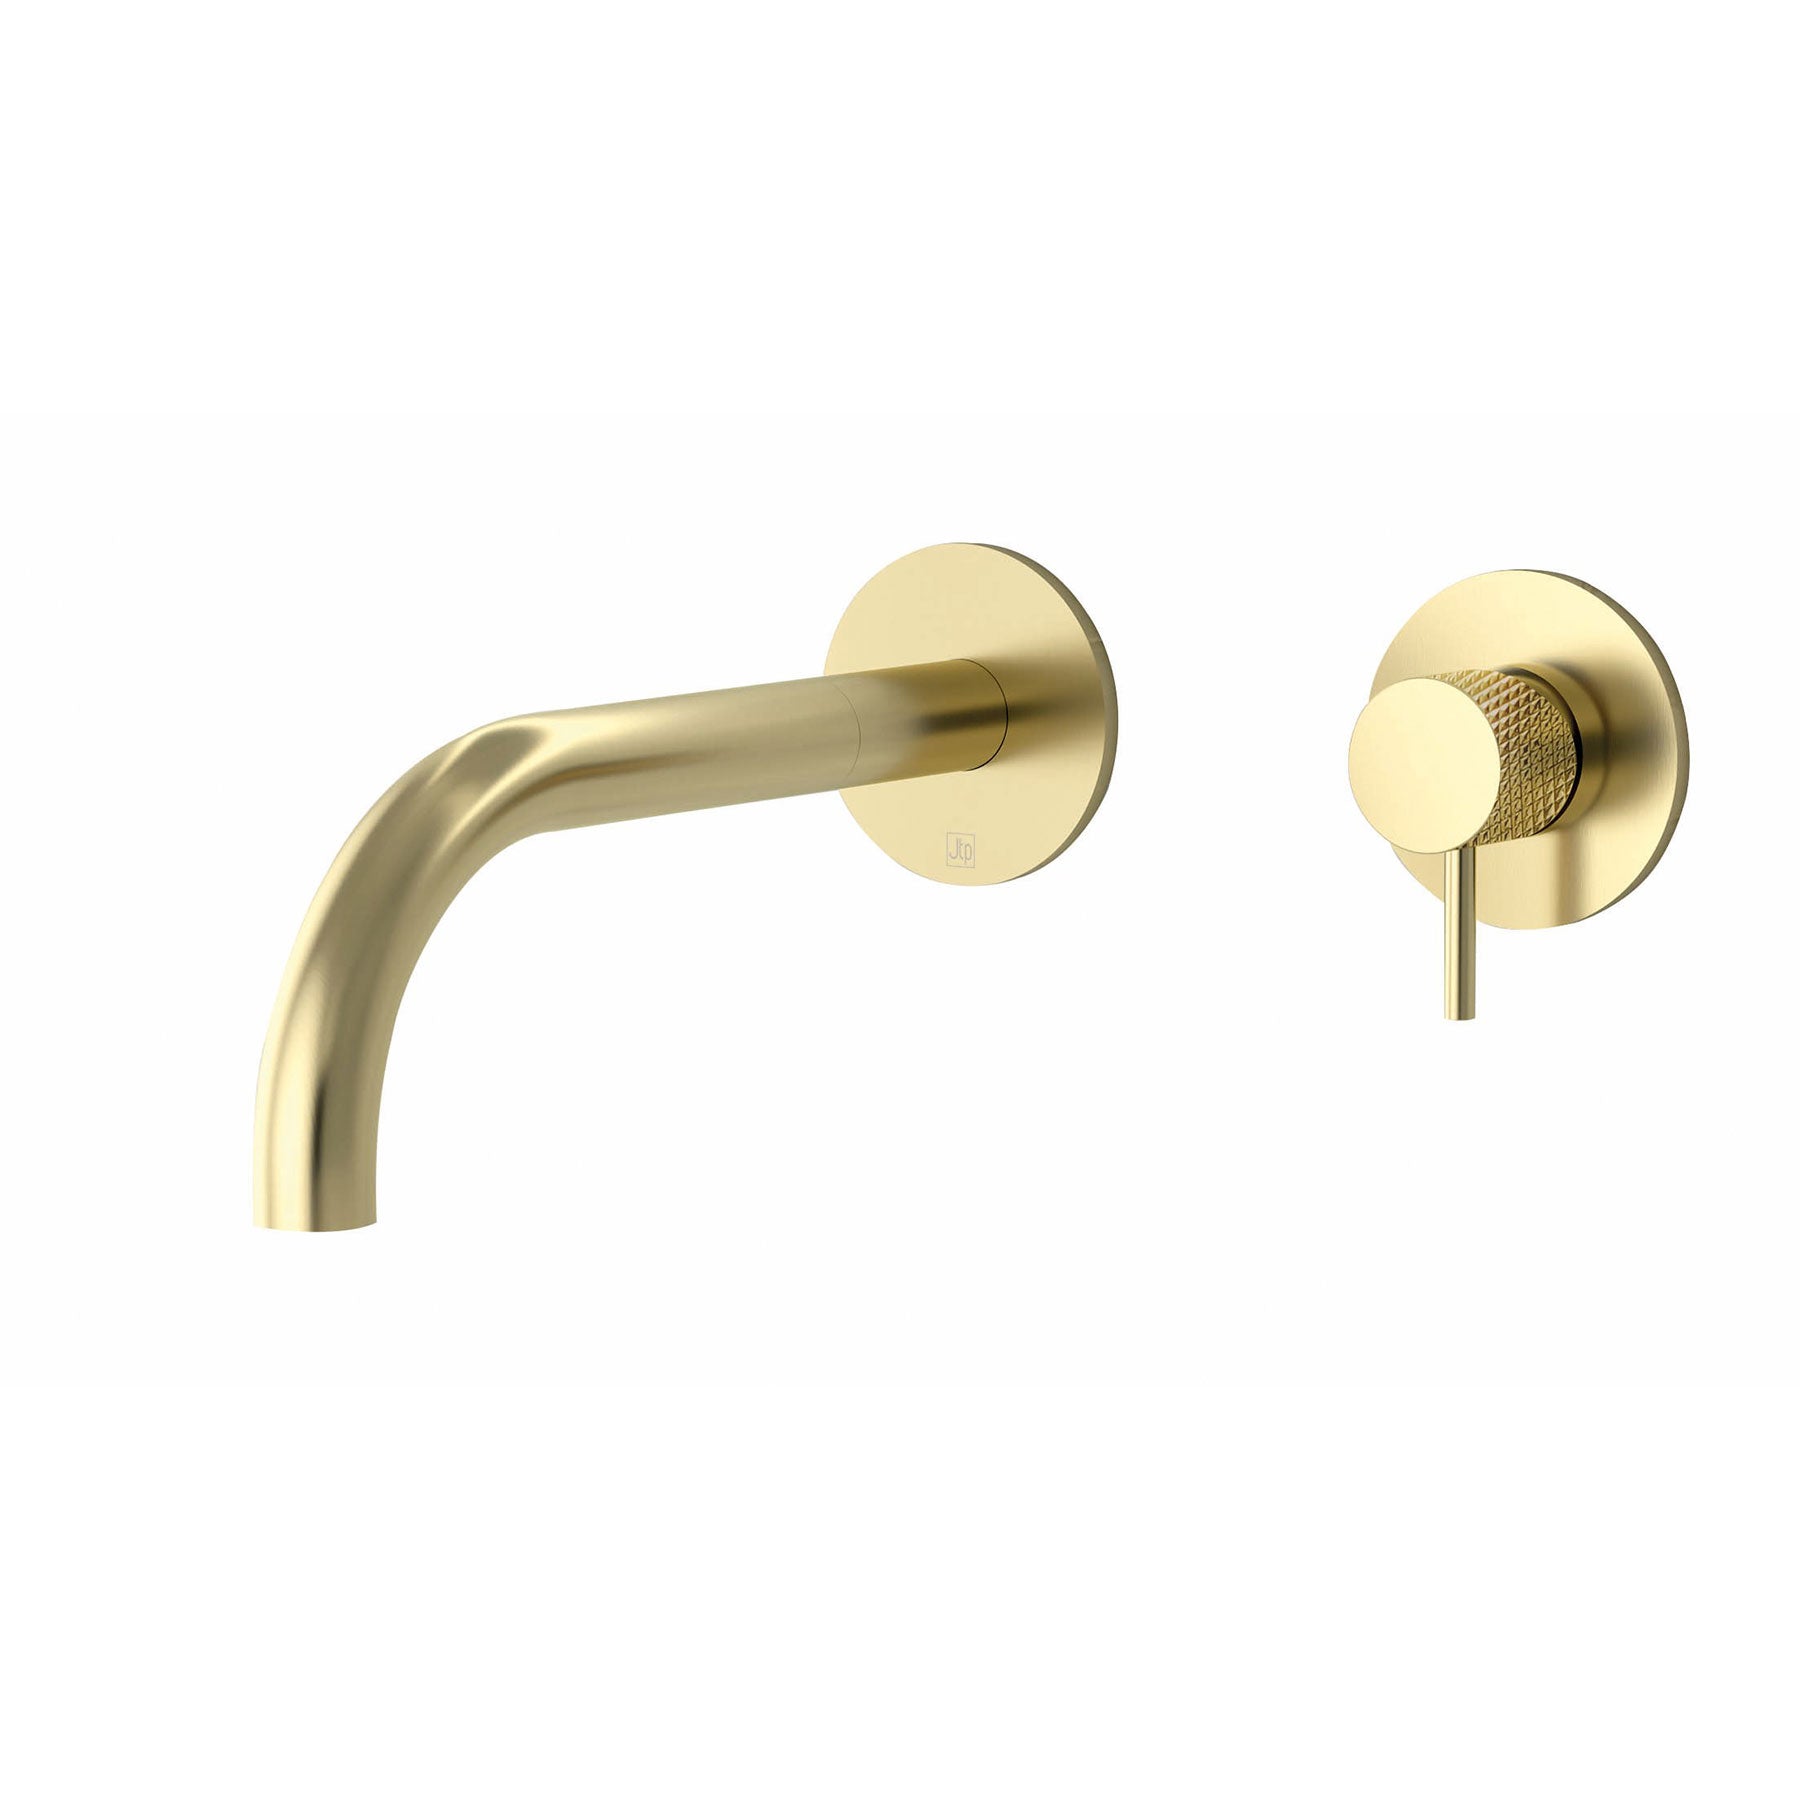
3. Wall-Mounted Basin Taps
Ideal for minimalist designs, these taps are mounted on the wall, freeing up counter space and creating a sleek appearance. They provide a clean and uncluttered look, perfect for modern bathrooms. Wall-mounted taps are excellent for small bathrooms as they save space.
4. Deck-Mounted Basin Taps
These taps are installed directly onto the basin or countertop, providing a versatile option that suits various bathroom styles. Deck-mounted taps are easy to install and maintain, making them a practical choice. They come in a range of styles and finishes to match any decor.
Conclusion
Installing a basin tap is a manageable DIY project that can significantly enhance your bathroom’s aesthetics and functionality. By following these simple steps, you can easily replace your old tap with a new one. For a wide selection of stylish and high-quality basin taps, visit Tapron UK and find the perfect tap for your bathroom.
Comments on “Renovation Realms”